
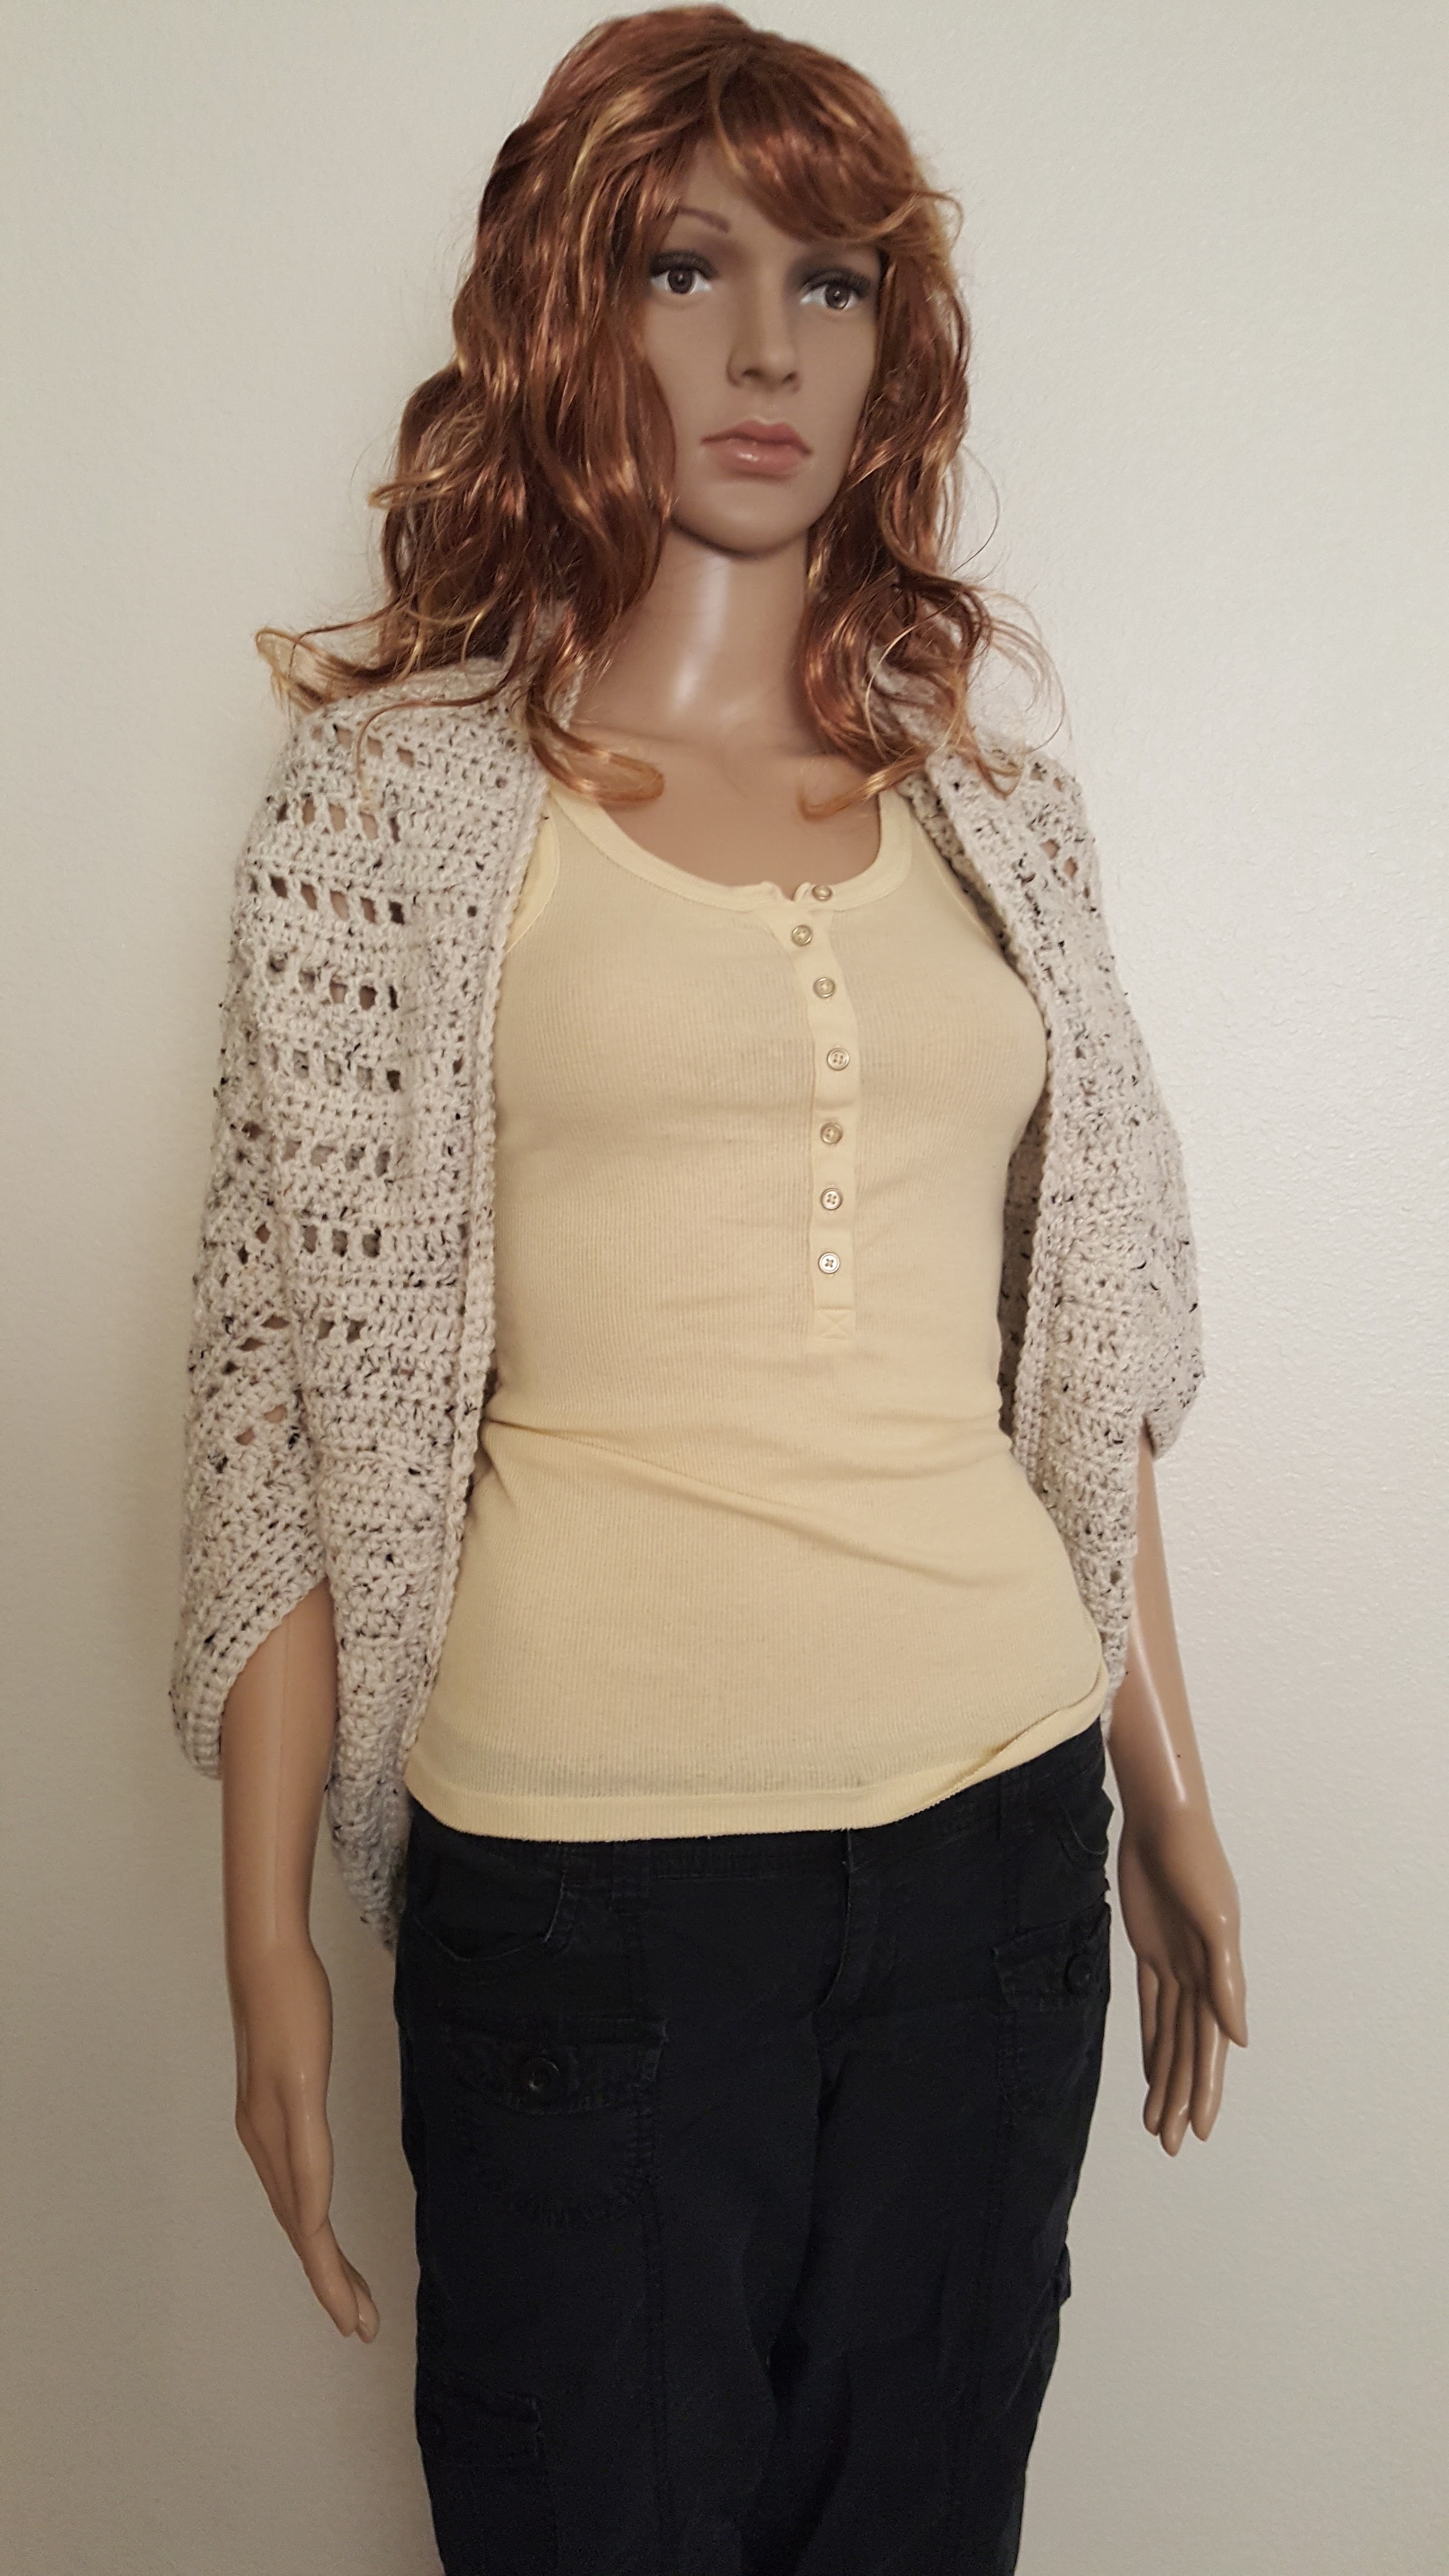


You can make this shrug bigger or smaller by working less or more amounts of the starting chain and rows. I used 4 balls of Hobby Lobby I Love This Yarn in Tweed and a J/6 mm crochet hook. I am planning on making more using Red Heart With Love yarn and Red Heart With Love Metallic yarn – I made some scarves and slippers using that yarn and I love how it comes out!
If you would like to purchase the PDF version you can go to Etsy or Ravelry. Thank you so much!
Original pattern by Fran Corona © 2016 all rights reserved.
You may use the items made from this pattern to sell but you must include my shop link in your listing as follows: Pattern by Fran Corona – www.fransplace1018.com
Skill Level: Easy
Measurements: One size fits most
Materials: 4 Balls of medium-weight yarn (I used I love this yarn in Tweed)
J/6 mm crochet hook
Large eye tapestry needle
Stitch Markers
Abbreviations/References:
Ch – chain
Sc – single crochet
Hdc – half double crochet
Dc – double crochet
St – stitch
Sts – stitches
Sk – skip
Sl st – slip stitch
Instructions: Ch 122
Row 1: hdc in 2nd ch from hook and every ch to end – 121 sts
Row 2 – 4: ch 2, turn, hdc in same st as ch and in every stitch to end – 121 sts
Row 5: ch 3, turn, dc in same st as ch and in next 6 sts, *ch1, sk next st, dc in next st, ch 1* repeat from* to last 6 sts, dc in last 6 sts – 66 dc & 55 ch 1 sts
Row 6: ch 2, turn, hdc in same st as ch and in every st to end including ch 1 sp – 121 sts
Row 7: ch 2, turn, hdc in same st as ch and in every st to end – 121 sts
Repeat rows 5 – 7 until piece measures about 37″
Work 2 more rows of row 7 – 121 sts
Make sure it fits: Fold shrug in half as shown in the diagram below and pin or clip sides 7 inches below the fold for armholes. Put the shrug on to make sure it fits comfortably; if it is too tight or just doesn’t fall the right way, add more rows until it fits the way you want. Fasten off & weave in yarn.
Assembly: Whipstitch side seam up to 7 inches from the fold on both sides. (See diagram) Weave in yarn.

Sleeves: Right side facing, join yarn to the bottom of armhole and hdc in ea st around marking 1st hdc. Do not sl st to join, continue to hdc in a spiral for 3 rounds, moving marker up as you go. (You can also work sc sts instead of hdc if you want tighter sleeves)
Edging: Right side facing, join yarn to side edge and sc in ea st around marking 1st hdc, as follows: 1 sc in ea hdc row, 2 sc in ea dc row. (You can also work hdc instead of sc to give it a thicker edge) Do not sl st to join, continue to sc in a spiral for 2 more rounds, fasten off and weave in all ends. All finished!
Please let me know what you think of this creation by leaving a comment below!
You can find me on Facebook at https://www.facebook.com/fransplace1018
Thank you so much for visiting my site and I hope you will come back again soon and share with family and friends!
This was submitted on my Etsy store by:
ReplyDeleteAngela on Nov 15, 2016
5 out of 5 stars
Love it, great color and extremely comfy. I would recommend this to anyone who is looking for a stylish shrug that can be used for everyday.